Install Instructions
There is a small chance that you may brick your keyboard in the flashing process, continue at your own risk. Use an appropriate cable, make sure you won’t lose power during flashing and follow the steps carefully.
This guide doesn’t cover bluetooth connectivity, following this guide will disable your keyboards bluetooth mode.
WARNING: these instructions are by no means complete, feel free to ask in the Discord Server if you encounter any problems.
If you're here for VIA, check your MCU first and then follow step 8.
Contents
2. Setting Up the Environment - QMK MSYS
3. Setting Up the Environment - WSL
Optional
9. Disabling Sleep Breathing Effect
11. Reverting to the Original Firmware
1. Check Your MCU
1.1. Remove the side plates and the plate screws
You’ll probably need an electronics screwdriver kit at this step. Disconnect your keyboard and keep it in “Cable” mode.
1.2. Separate the PCB from the case
You can turn the keyboard over a soft surface to let the pcb drop or hold it with your hand as it detaches from the case.
1.3. Check your MCU serial number
The MCU is the chip with the red spot, read the serial numbers and google it to check it’s model, these steps are valid only if you have a SN32F24x/SN32F26x MCU. 
In our case, the serial number is HFD2201KBA.
If you have trouble finding the model of your MCU, you could skip to step 4 and follow until step 6.2 to see the model in Sonix Flasher.
2. Setting Up the Environment - QMK MSYS
2.1. Download the latest release (QMK_MSYS.exe) from this repo.
2.2. Run the .exe and follow instructions.
2.3. Run QMK MSYS
You can hit the windows key and type “QMK MSYS” to find the program
2.4. Clone the SonixQMK repository
git clone https://github.com/SonixQMK/qmk_firmware.git
2.5. Change directory to qmk_firmware
cd qmk_firmware
2.6. Pull the submodules
make git-submodule
2.7. Install utilities
util/qmk_install.sh
Note: You might need to run this twice if the QMK MSYS terminal is closed in the process.
2.8. Make default firmware
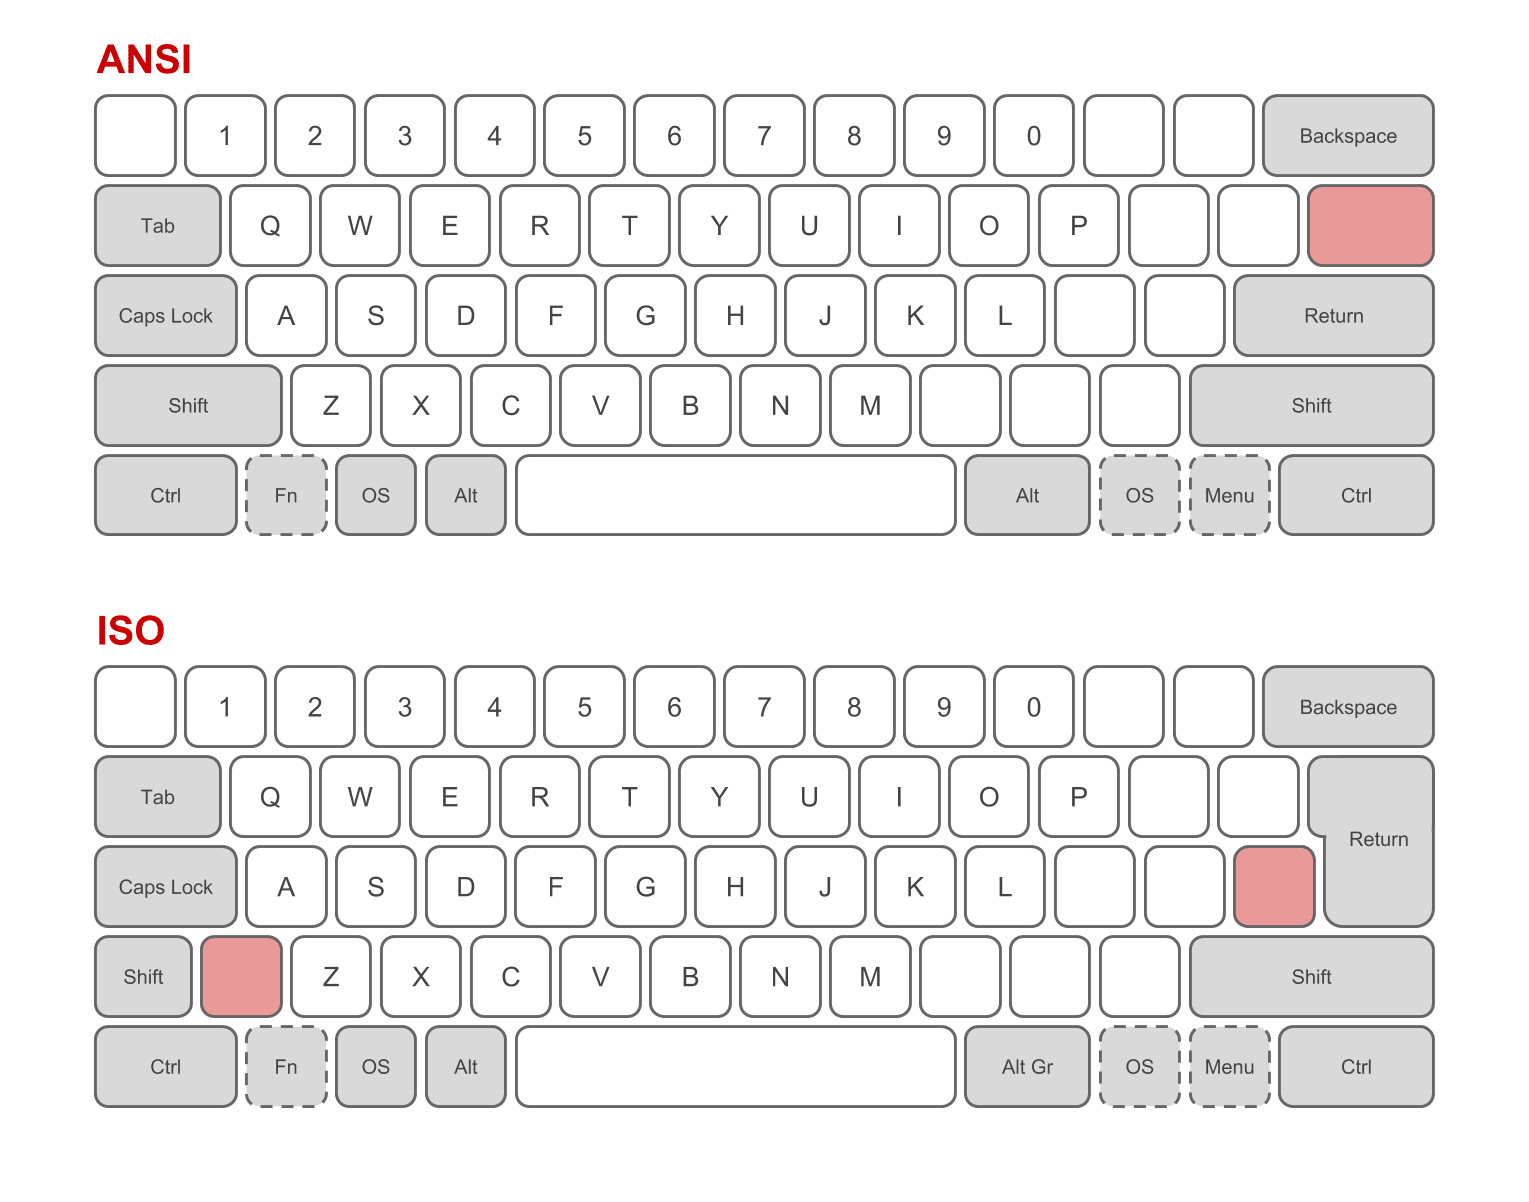
Depending on your your keyboard and/or keyboard layout compile the default for example, for the Keychron K6 RGB ISO Version:
make keychron/k6/rgb:iso
2.9. Navigate to the following directory through file explorer (Win + E):
%USERPROFILE%\qmk_firmware
2.10. Locate and copy the .bin file
Depending on your layout, copy “keychron_k6_rgb_ansi.bin” or “keychron_k6_rgb_iso.bin” file to a convenient place such as your desktop.
2.11. (Optional) Create a shortcut for the directory for later
3. (Alternative) Setting Up the Environment - WSL
Note: If you experience random disconnections after using the WSL method, please try the QMK Msys method.
3.1. Navigate to Windows Features

3.2. Enable "Windows Subsystem for Linux"

3.3. Navigate to Microsoft Store
Hit the windows key and type "Microsoft Store", the app will show up.
3.4. Search "Ubuntu"
3.5. Install "Ubuntu 20.04 LTS"
3.6. Run Ubuntu 20.04 LTS
You can hit the windows key and type Ubuntu to find the app.
3.7. Create a user
You will be prompted to input a username and password when you run Ubuntu, input a username of your choice and a password when prompted. Don’t worry when the password you input doesn’t show on the line, just enter the password and hit enter.
3.8. Update packages
Run the following command: sudo apt update Input your password when prompted.
3.9. Install Make
sudo apt install make
3.10. Clone the SonixQMK repository
git clone https://github.com/SonixQMK/qmk_firmware.git
3.11. Change directory to qmk_firmware
cd qmk_firmware
3.12. Pull the submodules
make git-submodule
3.13. Install utilities
util/qmk_install.sh
3.14. Update GCC
3.14.1. Run the following commands, line by line:
cd ~
curl -o ./update-gcc10-ubuntu.sh https://raw.githubusercontent.com/radunanescu/ubuntu_gcc_armtoolchain10/main/update-gcc10-ubuntu.sh
sudo chmod +x update-gcc10-ubuntu.sh
sudo ./update-gcc10-ubuntu.sh
3.14.2. (Alternative) Copy the following lines, step by step and then right click on Ubuntu terminal.
cd ~
sudo apt install gcc-10 g++-10
sudo update-alternatives --install /usr/bin/gcc gcc /usr/bin/gcc-10 100 --slave /usr/bin/g++ g++ /usr/bin/g++-10 --slave /usr/bin/gcov gcov /usr/bin/gcov-10
sudo update-alternatives --install /usr/bin/gcc gcc /usr/bin/gcc-9 90 --slave /usr/bin/g++ g++ /usr/bin/g++-9 --slave /usr/bin/gcov gcov /usr/bin/gcov-9
sudo apt remove gcc-arm-none-eabi
wget https://developer.arm.com/-/media/Files/downloads/gnu-rm/10-2020q4/gcc-arm-none-eabi-10-2020-q4-major-x86_64-linux.tar.bz2
sudo tar xjf ./gcc-arm-none-eabi-10-2020-q4-major-x86_64-linux.tar.bz2 -C /usr/share/
sudo ln -sf /usr/share/gcc-arm-none-eabi-10-2020-q4-major/bin/arm-none-eabi-gcc /usr/bin/arm-none-eabi-gcc
sudo ln -sf /usr/share/gcc-arm-none-eabi-10-2020-q4-major/bin/arm-none-eabi-g++ /usr/bin/arm-none-eabi-g++
sudo ln -sf /usr/share/gcc-arm-none-eabi-10-2020-q4-major/bin/arm-none-eabi-gdb /usr/bin/arm-none-eabi-gdb
sudo ln -sf /usr/share/gcc-arm-none-eabi-10-2020-q4-major/bin/arm-none-eabi-size /usr/bin/arm-none-eabi-size
3.15. Make default firmware
Change directory to qmk_firmware:
cd ~/qmk_firmware
Depending on your your keyboard and/or keyboard layout compile the default for example, for the Keychron K6 RGB ISO Version:
make keychron/k6/rgb:iso
3.16. Navigate to your directory in a file explorer (Windows Key + E):
\\wsl$\Ubuntu-20.04\home\<username>\qmk_firmware
The username field should be the ubuntu username you defined.

3.17. Locate and copy the .bin file
Depending on your layout, copy "keychron_k6_rgb_ansi.bin" or "keychron_k6_rgb_iso.bin" file to a convenient place such as your desktop.
3.18. (Optional) Create a shortcut for the directory for later
4. Get Sonix Flasher
4.1. Go to https://github.com/SonixQMK/sonix-flasher/releases/latest
4.2. Download "flasher-win.zip"
4.3. Unzip the archive to a convenient place such as your desktop
5. Prepare the Keyboard
5.1. Use the 3-position switch to put the keyboard into wired mode (if applicablle)
5.2. Remove the side plates and the plate screws if you haven’t done already (if applicablle)
See Step 1 for instructions.
5.3. Unplug the Batteryn (if applicablle)
Pull the connector gently to remove the cables attaching the battery to the board.
5.4. Enter Boot Mode
Using a conductor, such as a control pen or a tweezer, touch the two pins in the image below. While shorting the pins, plug in the keyboard.
Reminder: If you're proceeding with something else than a K6, such as a K4, then the boot pins might be right under the spacebar keycap. Don't go poking these pins, ask the discord channel if you're unsure.

{TODO: Show boot pin location.}
6. Flash the Keyboard
6.1. Run "Sonix Keyboard Flasher.exe"
6.2. If you have shorted the pins correctly, you will see your device in (bootloader) mode in the program.

6.3. Make sure you have picked SN32F24x for the device and 0x00 for qmk offset.
{TODO: ADD 26X instructions}
6.4. This is the point of no return, click “Flash QMK…” and choose the .bin file you created. It will flash as soon as you choose the file.
6.5. Congratulations, you have flashed QMK into your K6!
7. Customizing the Layout
7.1. Navigate to the keymap directory
QMK MSYS:
%USERPROFILE%\qmk_firmware\keyboards\keychron\k6\keymaps
WSL:
\\wsl$\Ubuntu-20.04\home\<username>\qmk_firmware\keyboards\keychron\k6\keymaps
7.2. Navigate to the appropriate folder for your keyboard layout.
7.3. Refer to this guide for instructions on how to edit the files inside here.
7.4. Once you’re done, make the .bin file again following step 2.8 or 3.15.
7.5. Disconnect your keyboard, hold Space+B and reconnect to enter bootloader mode again.
7.6. Flash your new keymap following step 6, using the new .bin file.
8. (Optional) Using VIA
To use VIA on your keyboard, you can skip all the steps related to building your own firmware and flash a pre-compiled VIA-compatible firmware.
8.1. Download the pre-compiled firmware archive from the most recent run from here
8.1. Find and extract the appropriate firmware for your keyboard from the archive (e.g. "keychron_k6_rgb_via_ansi.bin")
8.2. Get the appropriate json from the keymaps directory
8.3. Follow steps 4 through 6 using the .bin file you extracted
8.4. Import the json into your VIA App
9. (Optional) Disabling Sleep Breathing Effect
For disabling the breathing effect on system sleep, which may become persistent after wake, navigate to:
%USERPROFILE%\qmk_firmware\keyboards\keychron\k6\rgb
and edit the "rules.mk" file to have the following line:
SLEEP_LED_ENABLE = no
10. (Optional) Enable NKRO
10.1. Open the following file in your qmk_firmware directory depending on your layout (ansi/iso):
keyboards/keychron/k6/keymaps/ansi/config.h
Add the following line:
#define FORCE_NKRO
11. Reverting to the Original Firmware
11.1. Download the appropriate firmware from this link
11.2. Extract the archive
11.3. Put your keyboard into bootloader mode by holding Space+B while connecting
11.4. Run the official firmware updater tool
XX. (Optional) OpenRGB
XX.1. Setting up OpenRGB
XX.1.1. Switch to OpenRGB Branch
In Ubuntu, run the following commands in qmk_firmware directory:
git checkout -b sn32_master_openrgb
git pull origin sn32_master_openrgb
XX.1.2. Make the .bin file following step 2.8 or 3.15
XX.1.3. Download OpenRGB
Download the latest stable version from the website. Unzip the archive.
XX.1.4. Run OpenRGB.exe
XX.1.5. Go to the Settings tab
XX.1.6. Click “Open Settings Folder”
XX.1.7. Open “OpenRGB.json” with a text editor
XX.1.8. Add the following lines after the first curly bracket ( { ):
"QMKOpenRGBDevices": {
    "devices": [
        {
            "name": "SonixQMK 0C45:5004",
            "usb_pid": "5004",
            "usb_vid": "0C45"
        },
        {
            "name": "SonixQMK 0C45:5104",
            "usb_pid": "5104",
            "usb_vid": "0C45"
        },
        {
            "name": "SonixQMK 05AC:024F",
            "usb_pid": "024F",
            "usb_vid": "05AC"
        }
    ]
},
XX.1.9. Save and close the .json file
XX.1.10. Restart OpenRGB.exe
XX.1.11. Make sure that “SonixQMK 0C45:5004” is enabled in the Settings tab
XX.1.12. Check if your keyboard shows up on the Devices tab and customize the lighting from there
XX.2. OpenRGB on Startup
In order to have OpenRGB run on startup with a selected profile, follow these instructions on the Official OpenRGB Wiki.